How to setup an Image Forensic lab with Ghiro
Posted on August 19, 2015 in Tools • 3 min read
This how to will guide you through the setup of an Image Forensics lab, using Ghiro, a free and open source image forensics tool.
Ghiro comes also with a virtual appliance (it is a copy of Ubuntu Linux with all you need already installed, you can run on your host) to help people get a running Ghiro in few steps.
1. Ready for virtualization
You can run Ghiro Appliance in any host (Mac, Windows or Linux), only a virtualization software is requested. There are many out there, free and commercial, for example Vmware or VirtualBox.
VirtualBox is a free and open source virtualization software, so for the sake of this guide we are going to use it, although you can use any other software to run Ghiro Appliance.
You need to have VirtualBox working, so download and install VirtualBox following the instruction on his website.
2. GET Ghiro Appliance
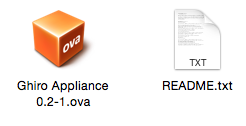
Download Ghiro Appliance from Ghiro website in OVA format and uncompress it, it is around 600Mb.
You will explode an .OVA file (the appliance), and a readme file with setup instructions.
3. Import Appliance
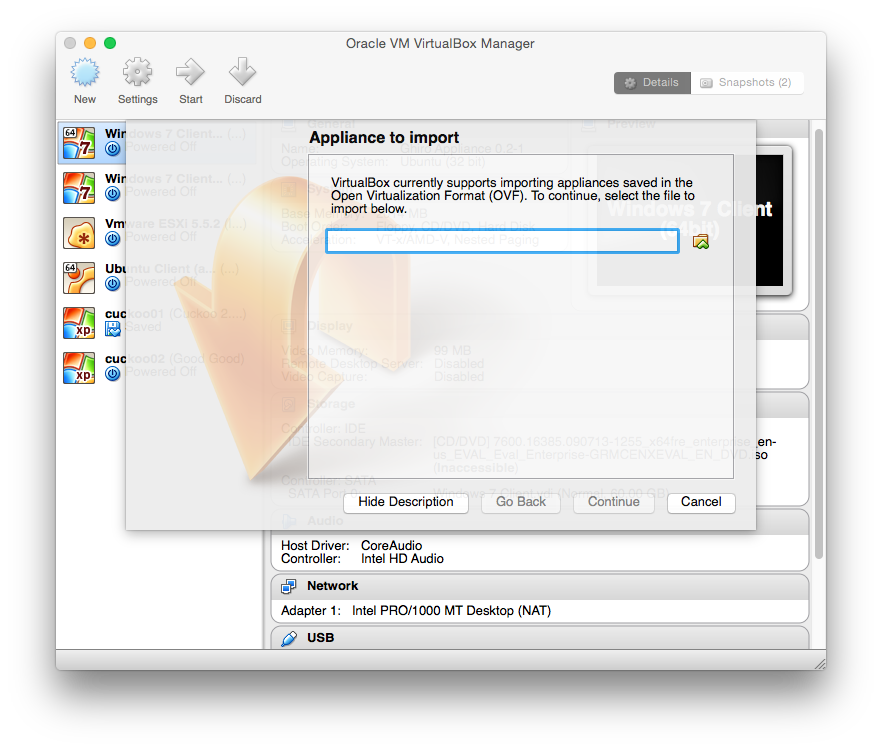
Now you can import the .OVA file inside VirtualBox. Open VirtualBox, go in the menu File and click on “Import Appliance…”, a screen like the following will popup:
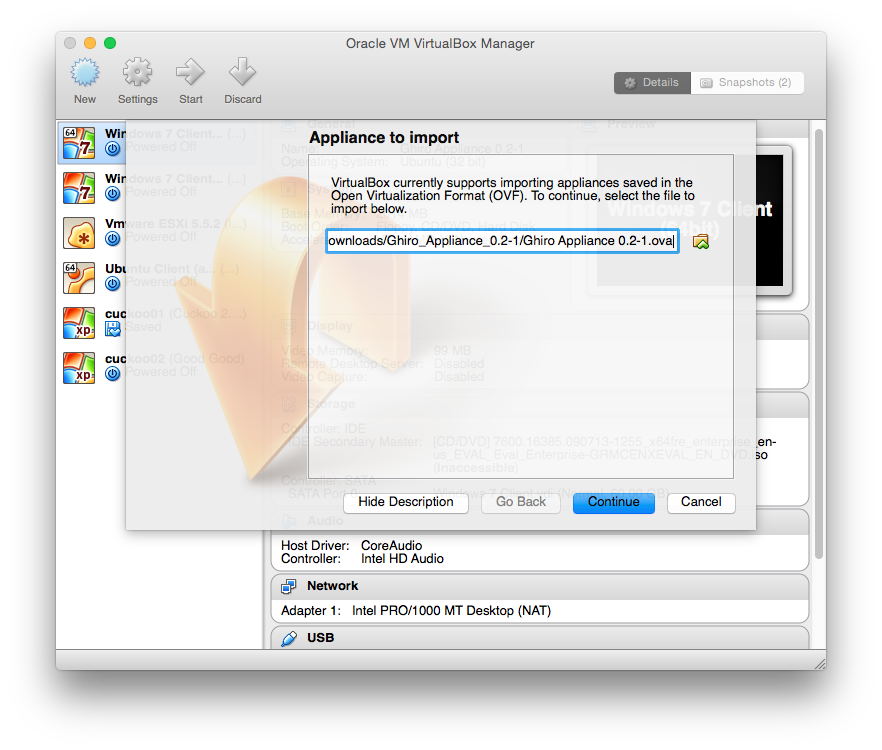
Select the .OVA file and than click “Continue”:
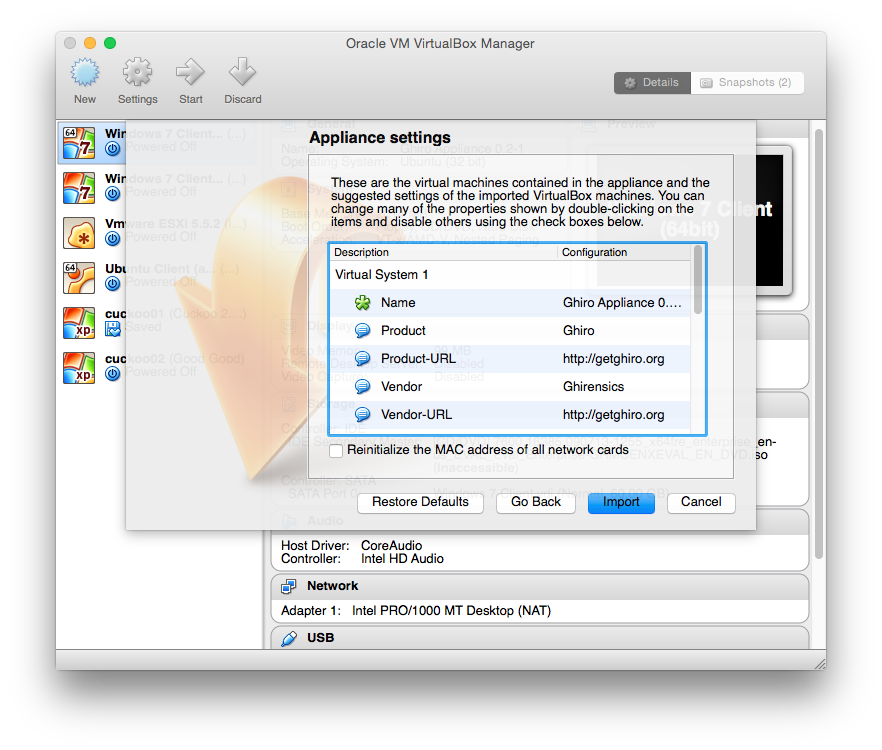
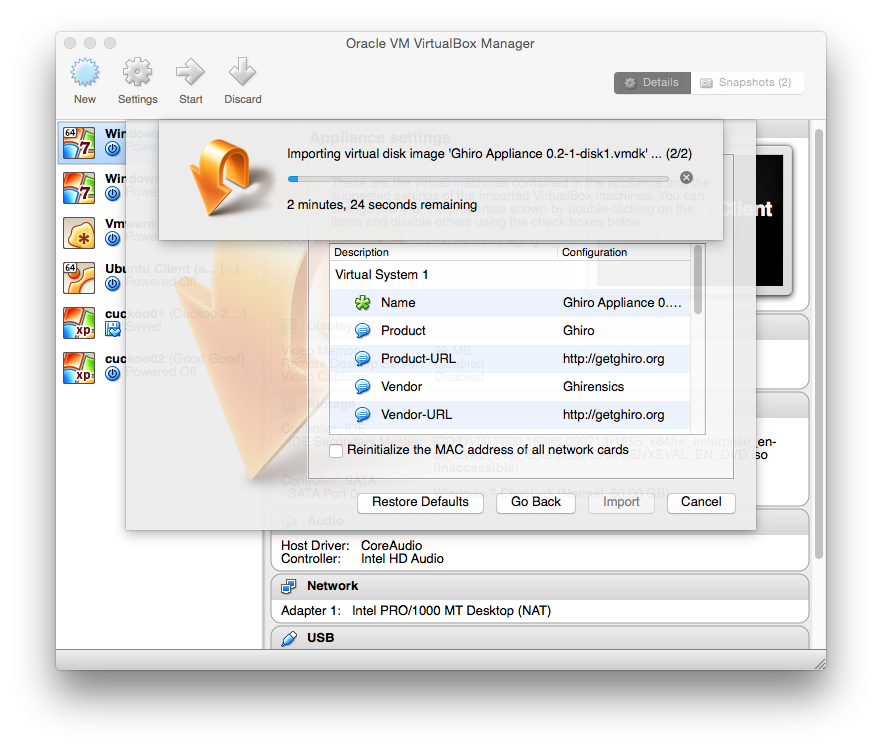
Now a default setting page is proposed, just hit “Import”:
After clicking “Import” the import process will start and in a couple of minutes it will be ready:
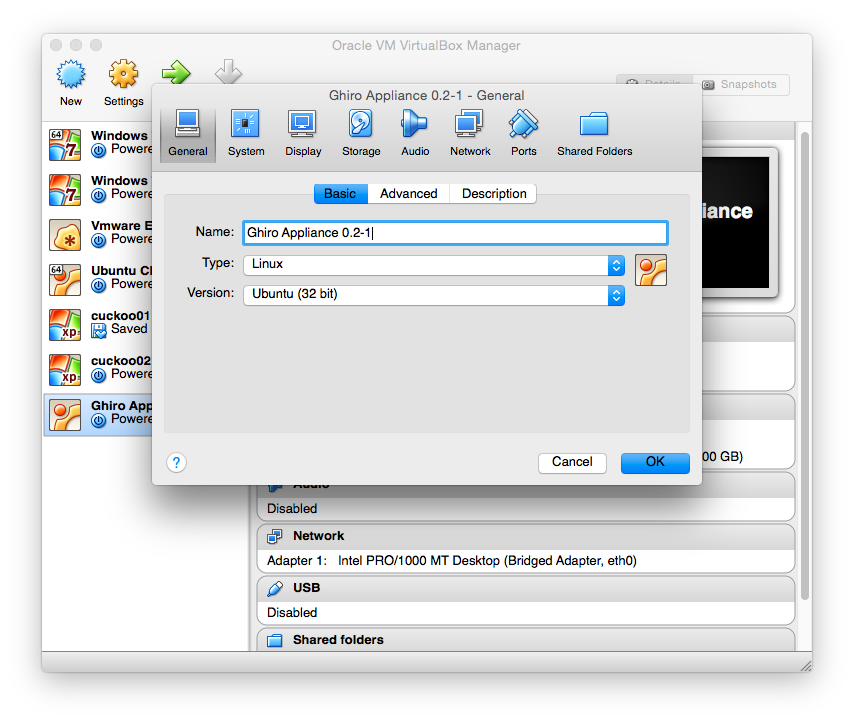
When the appliance is imported you will see it in virtual machines list (don’t worry if you don’t have all the machines listed in the screenshots, I am sorry but I have many):

4. Network Configuration
Most people fail configuring the network, so please pay attention.
Right click on your Ghiro Appliance on the Virtual Box Manager window and click Settings.
Then choose the Network tab.
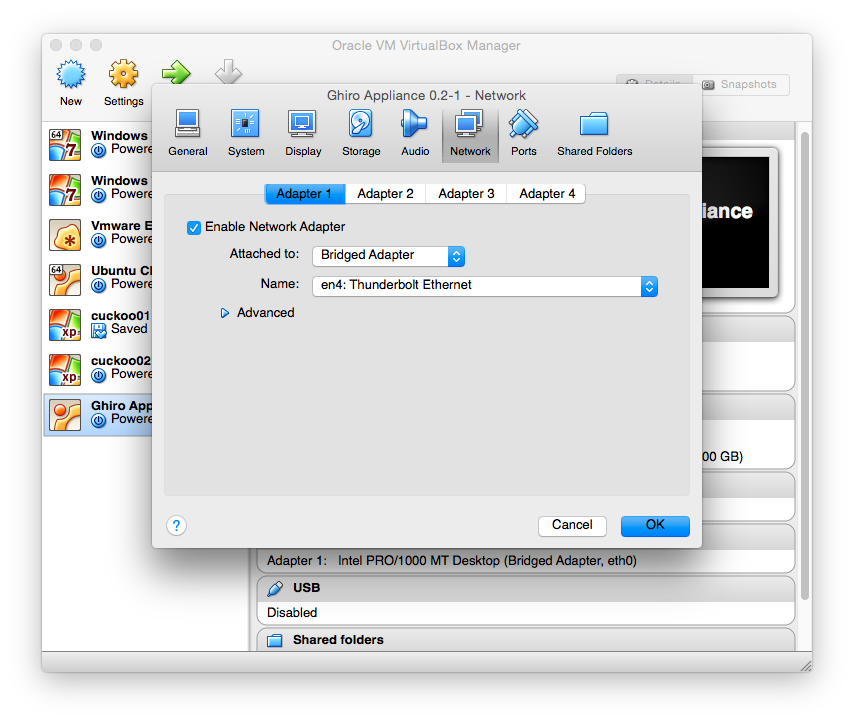
You have to configure how the virtual machine can connect to your network, so now you are asked to select the network interface you are using and the type of link (bridged or host only).
In most cases you need to set “Attached to:” to “Bridged Adapter” and you have to set the “Name” of the network card you are using your for network, for example if you are using your wired interface named “eth0”, select “eth0” on the name drop down menu.
Remember to alway set “Attached to:” to “Bridged Adapter” or “Host-only Adapter”, never use NAT or any other option, it will not work due to how networking is implemented in VirtualBox. For more information about connectivity see the VirtualBox documentation.
5. Start and Play
Start the Ghiro Appliance selecting it and clicking on “Start”. The boot will start, when the appliance is ready you will see a screen like this one.
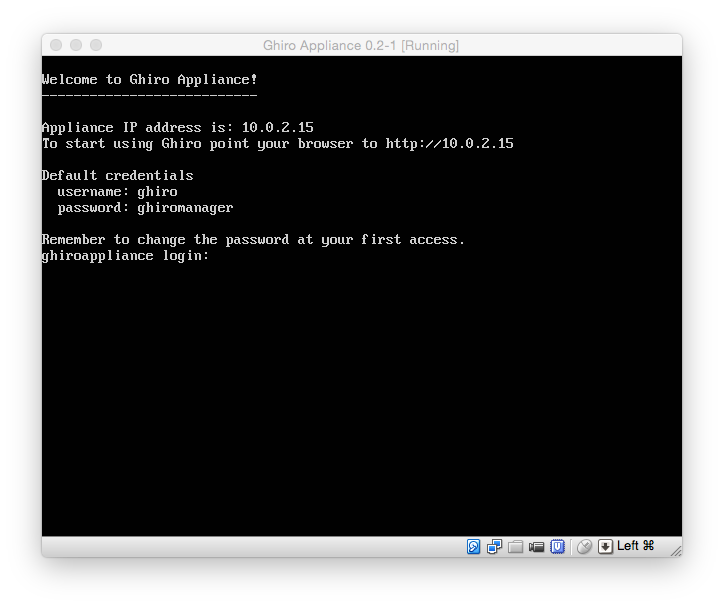
The appliance IP address is printed on the screen, as highlighted:
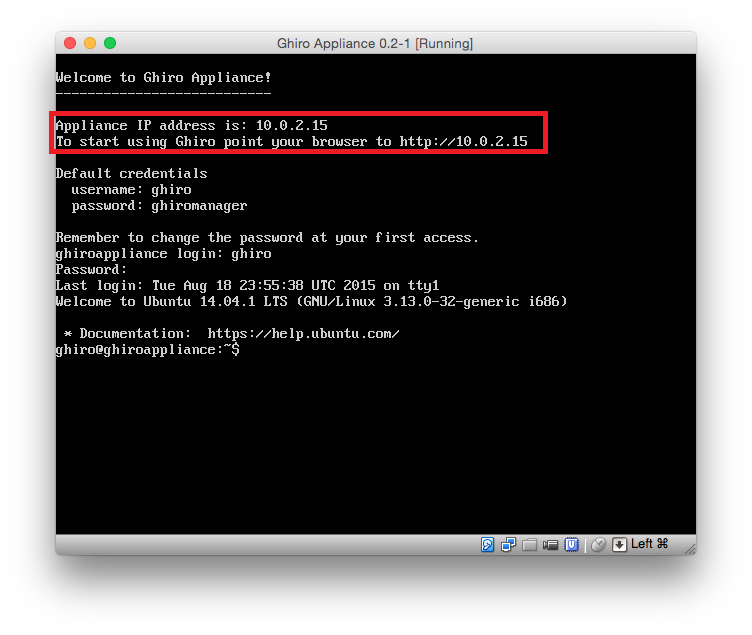
What you Now just put that address in your browser and the Ghiro interface will appear.
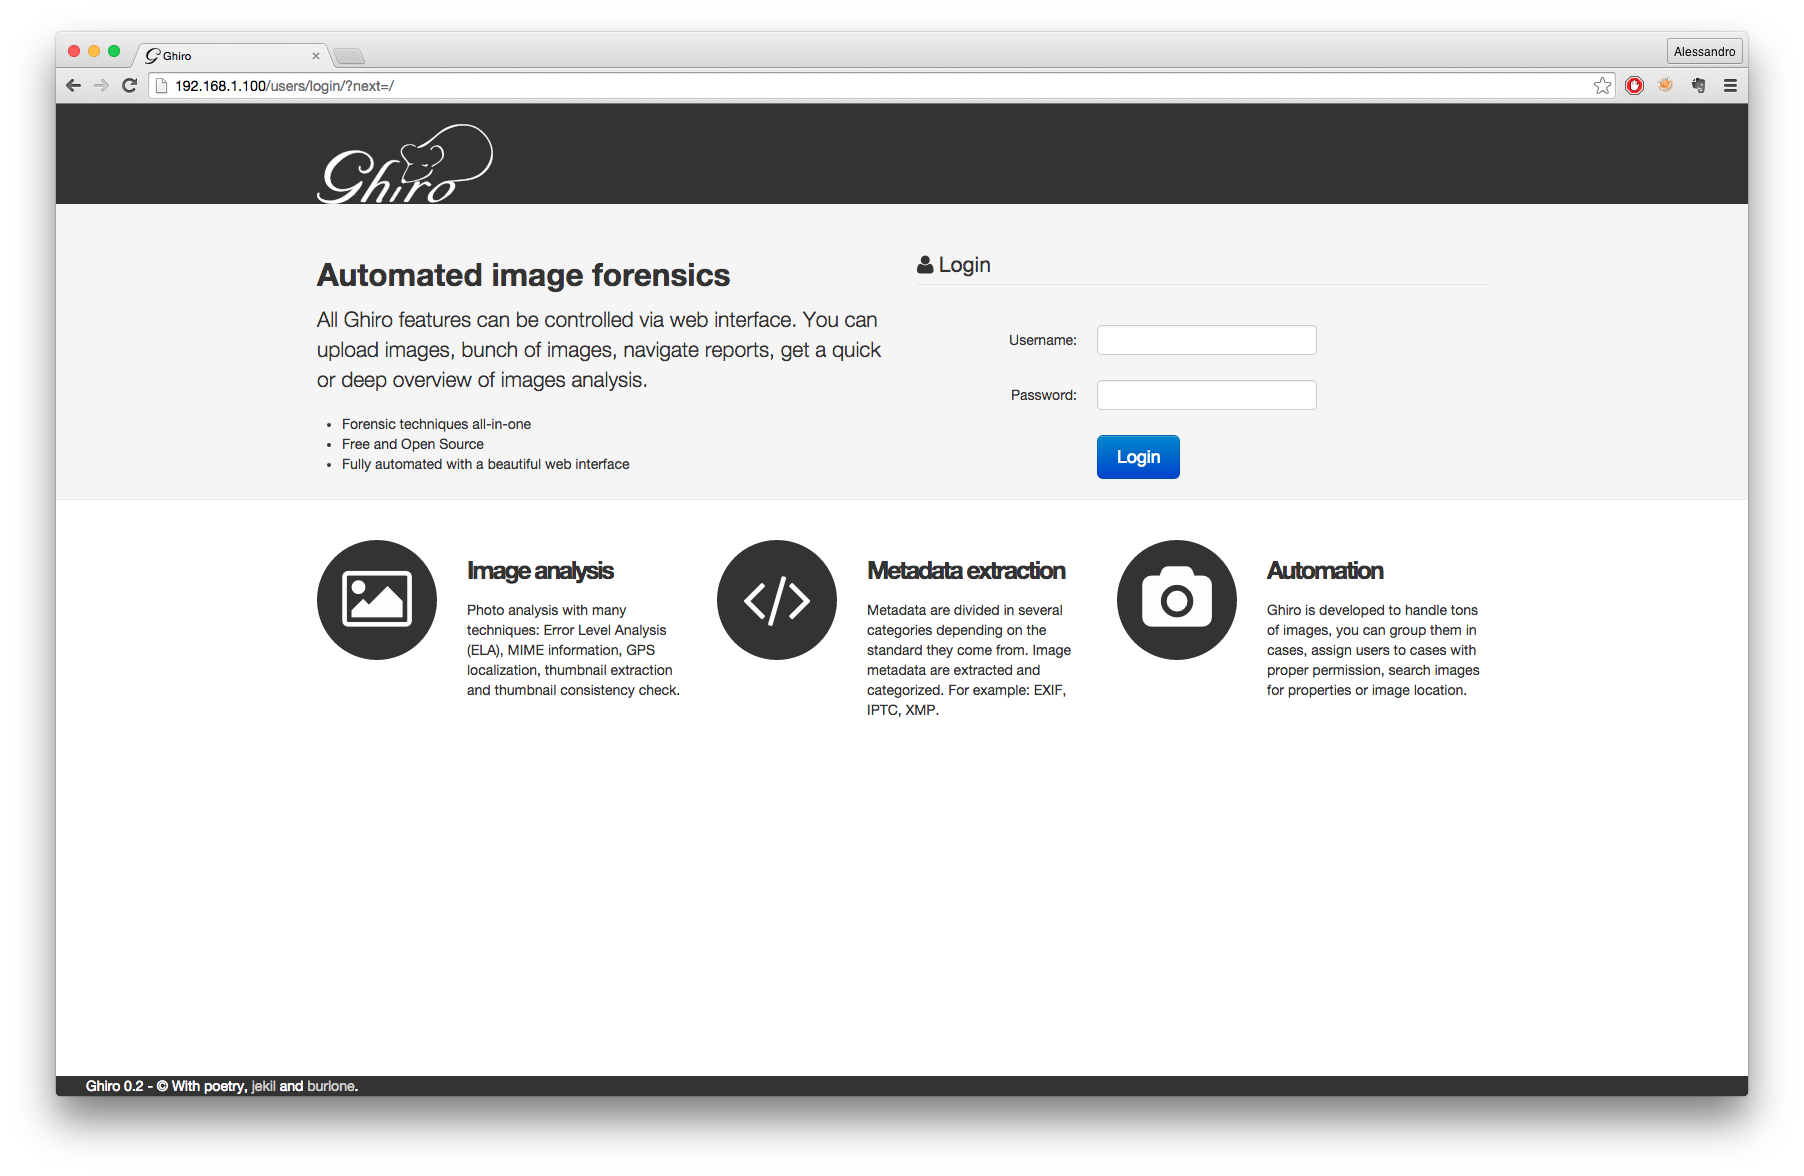
Now login in your browser with the same credentials and you will be ready to play
- Login: ghiro
- Password: ghiromanager
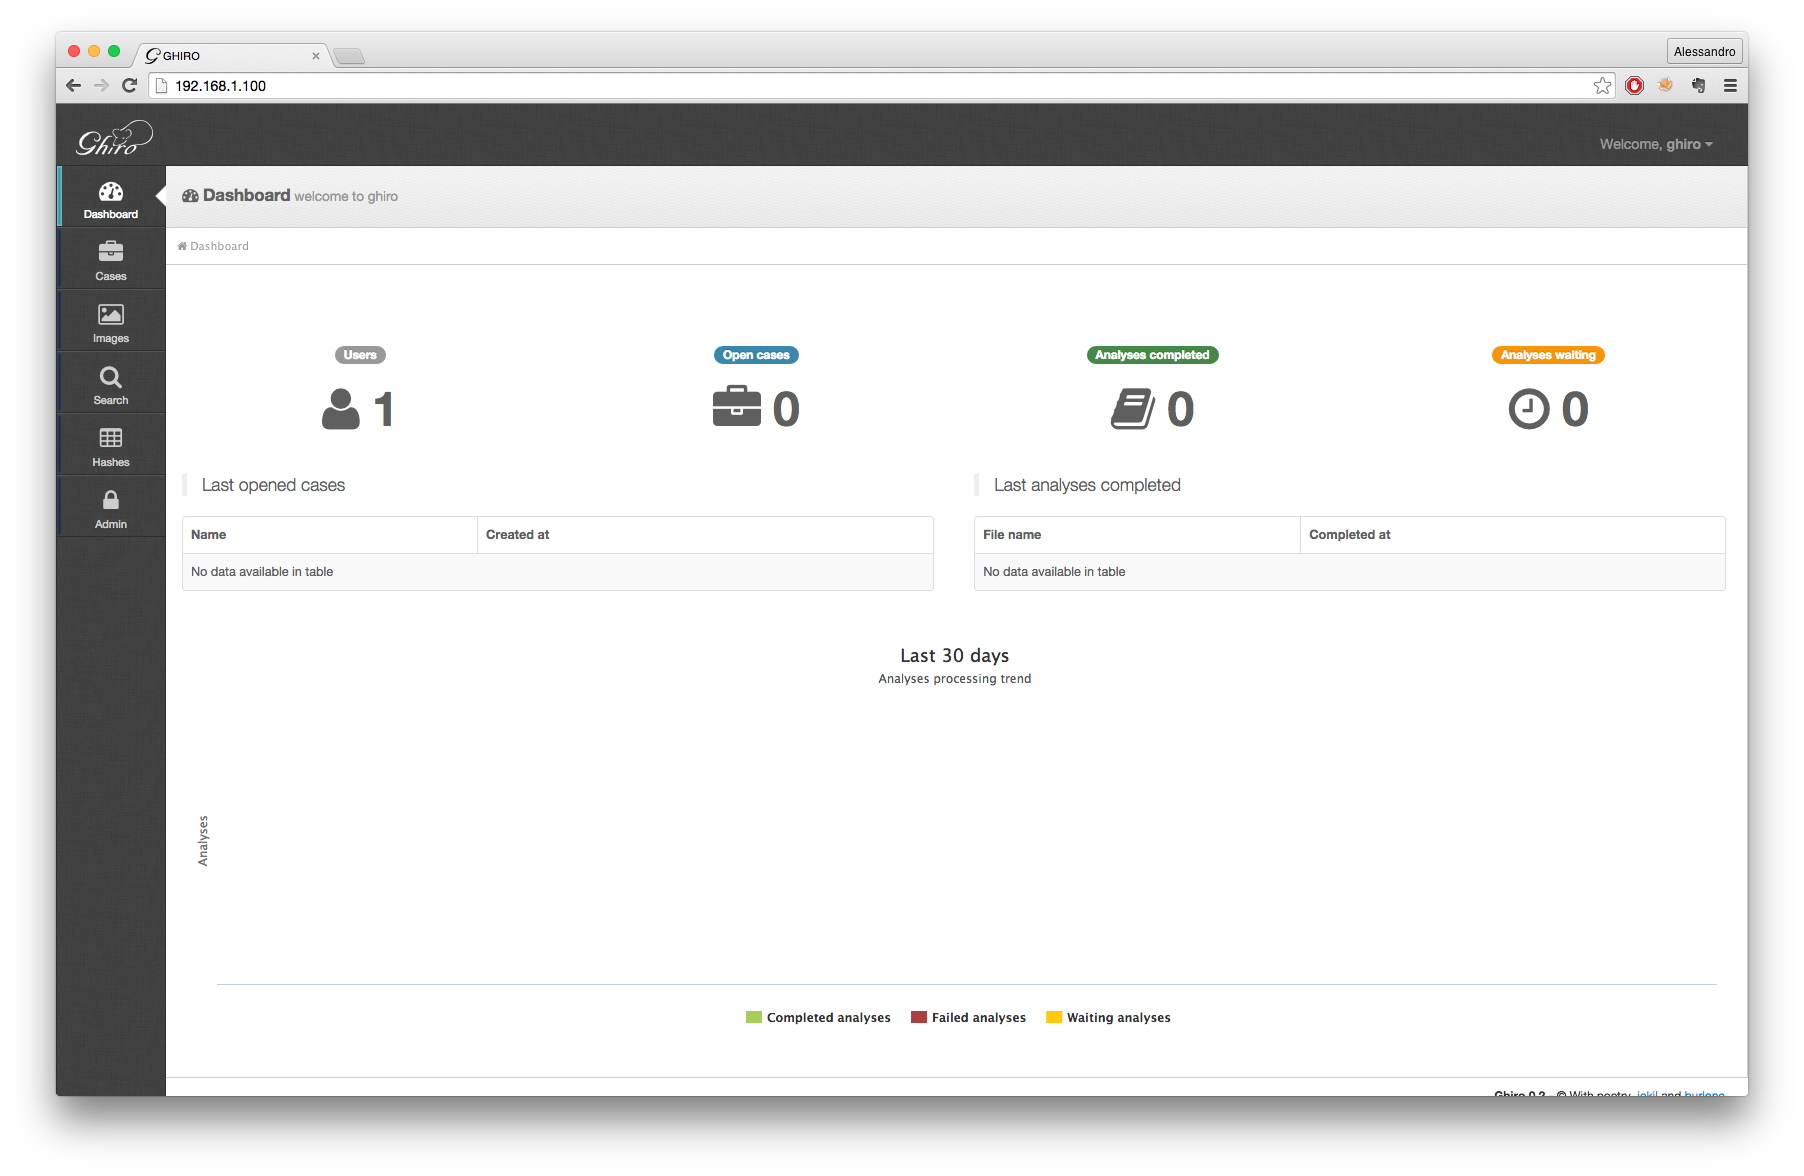
Enjoy! For any question Ghiro developer are available on the forum or mailing list.